Back to How to Pre-configure a Ruijie Router Product Page
Knowledge Base
How to Pre-configure a Ruijie Router
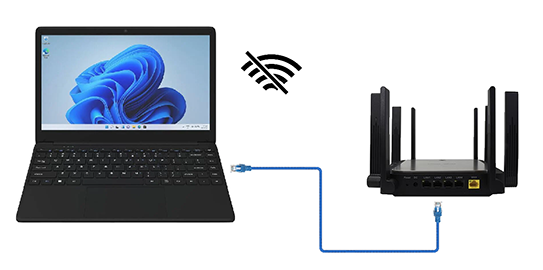
1. Disconnect your laptop from any hardwired internet connection and disable any WiFi connections. This is to allow the new routers DHCP server, to put your laptop’s IP address, into the same LAN as the router being configured. Connect to the router using a network patch lead with any LAN port on the router and after switching on the power wait for the router to boot up.
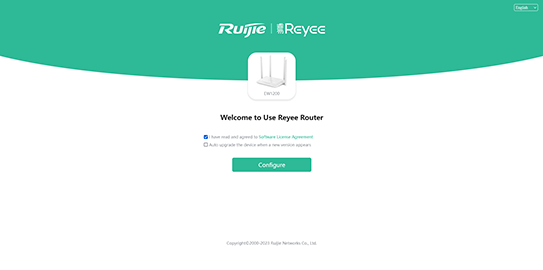
2. Enter the IP address manually into your web browser (usually ‘192.168.110.1’). Then select ‘Configure’
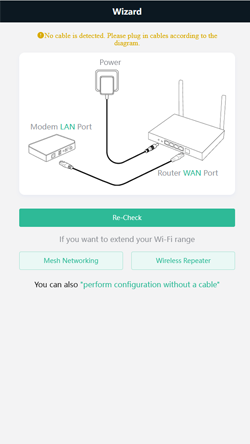
3. This screen should appear….select ‘perform the configuration without a cable’
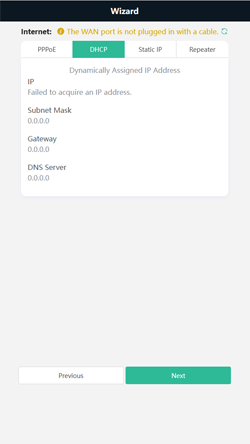
4. Choose the connection type required by your ISP provider
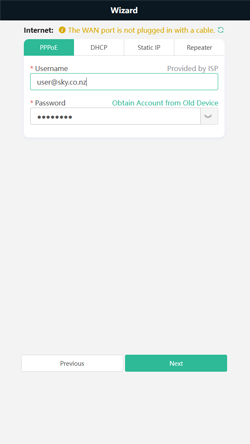
5. Enter in the details required by your ISP provider (normally found on the ISP providers website) and select ‘Next’
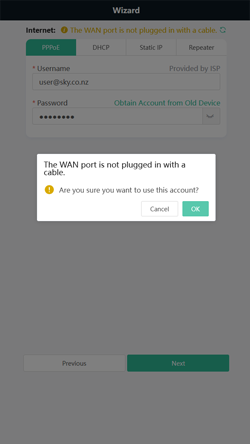
6. The following message will appear, select ‘OK’
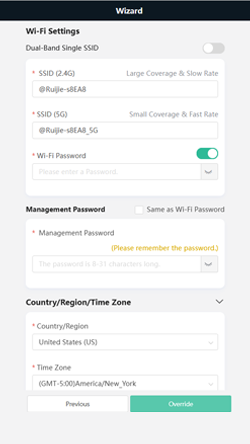
7. Set up the Wi-Fi name (SSID), and password, the routers’ owner prefers, and decide if you want to enter a different management password for administration. Select the appropriate time zone and country, if NZ is unavailable choose Australia. Select ‘Override’.
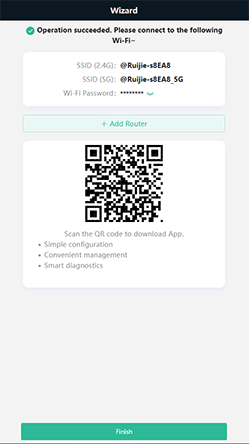
8. Wait for the countdown to reach zero, then you should see the following message….select ‘Finish’
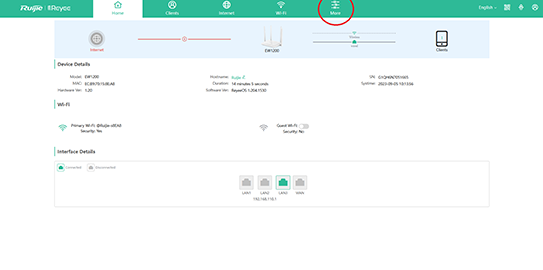
9. You should now be presented with the following options…..select ‘More’(circled in red below)
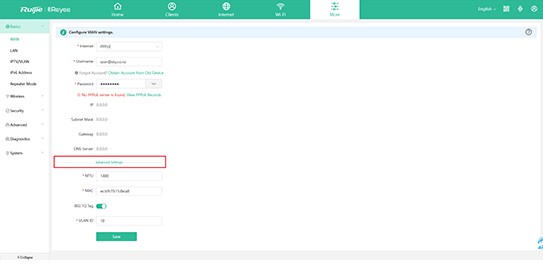
10. The ‘WAN’ tab to the left contains the ISP configuration and if you select ‘Advance Settings’ (boxed in red below), you will be able to access the 802.1Q Tag adjustment (VLAN) missing from the initial setup. Complete setup and ‘Save’
11. You should receive the message ‘Operation Succeeded’. The router can now be powered down and will still retain its configuration.
Page Feedback
Products related to page: 57MM-MR01, 57MM-MR01-2, 57MM-MR02, 57MM-MR02-2, 57MM-WR01, 57MM-WR02, 57MM-WR03
Page last updated: 20 March 2024, 1:12 PM (AEST)